Artist research.
This piece that I have chosen to research was created by a photographer called Sara Heinrichs.
Source: http://www.flickr.com/photos/awfulsara/35403447/#/photos/awfulsara/35403447/lightbox/
The techniques used in this photograph,  would have been long exposure this would be apparent in the nature of this photo because everything seems to be smooth and slightly blurred. It seems that after some research that the technique in this photo is long exposure (20 sec) as it said in the information about this image. This is a very effective technique for things such as surreal photography and light painting. In this image I would say that the photographer in this image was trying to achieve a more surreal image as the ride in this image that you can see as a focus of this image appears to look a little like a candy UFO or something along those lines, which is the effect given by the long exposure, when the image was originally a ride in the fair which you can just see from the image itself.
The materials used in this image would have been a DSLR camera of some kind. After some research I found that the camera used in this photo was a Canon EOS 10D. This could have been done in the shutter speed mode or in the Bulb mode where you can keep the shutter open for as long as you have your finger down on the capture button. This technique is normally more used at night time due to the exposure levels and how bright the images sometimes become.
The processes of this image if done properly would have been rather tedious mainly to the fact that you have to stand for a while to get the right moment to take the image, set up a tripod and either wait for the camera shutter speed to finish the image capture or to hold the button on the camera till needs be. I think that there is no post production to this image as most long exposure images tend to just blur and the colours start to mix, as this image here has, I don’t feel that the brightness would had to been changed either because the exposure of the image was pretty slow. If the shutter was open for that amount of time and judging by the aperture there would have been enough light in this image to self-brighten in the process of taking it. I think that image seems to be just a tourist image. Because it doesn’t seem that they paid any attention to the colour it seems to be that they were at the place at the time and that was the reason this image was taken. The colour in this image though does seem that it all matches, that is because of the location of this image and the fact that there only seems to be one ride in focus of this image. They haven’t really paid attention to the brightness and the shadows either. The fact that the other ride is also in this image points my focus to the brighter object in this image that being the ride in the background. I think they have paid attention to the form though as the point of a long exposure is to show off the form of a moving object and it clear that they chose this object because it moves really really fast and has lots of bright lights on it.
Artist research.
The piece of work that I have chosen to research was done by an artist called Michael Bosanko.
Source: http://www.michaelbosanko.com/photo10206690.html#photo
The techniques used in this image is long exposure and some lights specially timed to flash, lighten up, or darken whenever they are set to. This is called light painting or long exposure photography/art. How this is done is by setting up a camera on a tripod and setting it to a long exposure. This is normally set at a very long time so that there is time to paint the image with a torch or specially timed LED. The process of this effect seems well thought out and looks as if the artist has planned what he wants this i mage to look like. I'm not completely sure exactly what camera the guy used to make this image but I'm sure it is an advanced DSLR of some sort. He would have also had to use a "Camera Clicker" to take the image and keep the image going for as long as needed as the bulb selection on aperture requires the photographer to keep his finger on the button to take the image. So if he used a clicker and kept the lock on the button he had all the time he needed to take this image.
The process of this image is also tedious as it is pretty difficult to light paint. It is literally painting the air with either a torch or a small LED light or something of the sort.
Artist research.
This image was created by an artist called “Mr Jack”.
I am unsure of what the artist’s real name is.
Source: http://mr--jack.deviantart.com/art/Baneling-112050910?offset=offset

I think the technique in this image was Digital painting which they must have based on the original image of the Baneling From the game StarCraft/II .
They must have used a program such as photoshop or something else to draw this image digitally either using a Tablet or mouse.
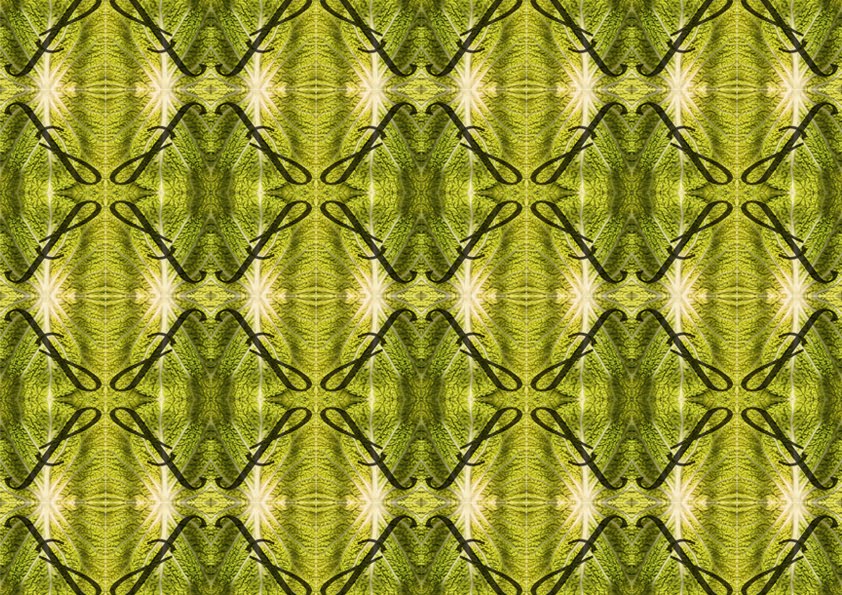
Pattern, Web-site Research.
I chose this web-site because it is pretty clear in just the home page that patterns for either graphics or fashion is the main theme of the web-site. There is also a short section on the top of the web-page below the page header, this seems like a short summary also explaining the webs purpose and introducing the name of the producer of this web-site and why they produce this work. The web-site also seems simply laid out and labeled so that the page is User-Friendly. Also there is a slow presentation of the pattern below the short description paragraph that slowly changes colour. Probably to show off some of the designs produced or the main style of the patterns that are produced.
Pattern, Web-site Research.
I chose this web-site in particular because it actually doesn't appeal to me at all. Yes, the web-site seems to be themed around patterns and textures, but unlike the other web-page I researched it's not laid out in a sensible web-site way. It's far to over crowded with links and information and photographs. Though in the background they use a sort of texture pattern, it doesn't seem that it's portraying the web-site and it's purpose. I think this web-site needs to emphasize it's purpose and maybe not cram too much into to little a space.
Pattern, Web-site Research.

I think from what I saw on the web-site. That it is laid out easy enough to understand and that it is easy to navigate around the gallery work that he has produced.
My favourite piece of work that i took on the screen grab. Is the one of a brick wall with the word " I Love You" on them. I like the little loading symbol on top of the text. I also like that he has taken advantage of the shape of the loading symbol to create another interpretation to it. I think that this was a very clever image and something that isn't obvious enough for someone to come up with.

Most of the work by David Carson that I saw is generally graphics and typography I like this piece that I chose as an example because it is bold plain and contrasting, there is nothing that is distracting about it and the name of the artist is in red. This is one thing I like a lot about it because it a also contrasting as if it is trying to say that this other person is just a person and not just part of the art although he is not just a person he is the artist which explains the colour contrast I'd expect.
About Archan
Archan Nair (b.1982, New Delhi) is a self developed visual artist, illustrator and Art Director, specializing in mixed media, illustration, and digital art.
Archan is inspired by various phases and forms of life to create highly intricate works that connect the various dimensions of our existence.
Formerly a fashion major and entrepreneur, Archan started painting in 2006 at the age of 24 and made the shift to independent artist in 2007. Since then he has embarked on an exhilarating and inspirational journey, c
ollaborating with various companies and individuals around the world such as Canon, Nike, Tiger Beer, Sony etc. Archan has been featured in various publications including Computer Arts, Digital Arts, Advanced Photoshop,GQ, Bak, Vanity Fair, and has achieved recognition from music artists like Kanye West.
Archan's passion and love for the creative process and expressing himself has opened a whole new journey, where he is exploring the beautiful essence of life.
The source of this information ~ http://www.archann.net/pages/info
I used this information because it was from a reliable source as it was from the official web-site.

I like the style of his work. It seems by a lot of the work that I have seen of his generally is the same style.. Maybe a signature style. I like the colours that he has used to create his images because they are all almost florescent and there is no bad composition. All of the colours in this image actually fit well together and look well. It also seems that he is maybe into the abstract scene as this piece as an example is very abstract. The characters seem to be of the Japanese style in this image and this style seems to run throughout all of the work of his that I have seen.


